
The Aeropress is a very unconventional device. Designed by a manufacturer of flying discs, there was little expectation that the Aeropress would emerge as a legitimate brewing option. But, surprise of all surprises, the Aeropress makes a great cup of coffee.
It’s constructed entirely with BPA-free plastics and is virtually indestructible, making it ideal for travel. The design seems to be inspired by the french press, using a plunger to push brewed coffee from the grounds through a paper or metal filter.
Grind We generally recommend a medium to finer grind.
It’s hard to provide a universal grind setting recommendation for the Aeropress, as it’s an incredibly versatile brewing device (one of the reasons that we love it!). We’ve had great results with all different grind settings. If you opt for a medium grind, shoot for a 2-minute dwell and a 30-second press. If you’re interested in playing around with a finer grind setting, brew for 45-90 seconds. Of course, all of this is dependent upon your precise technique.
What You Will Need ! Aeropress kit with the paper filters / Freshly roasted coffee / Scale / Home Grinder / Timer / Kettle
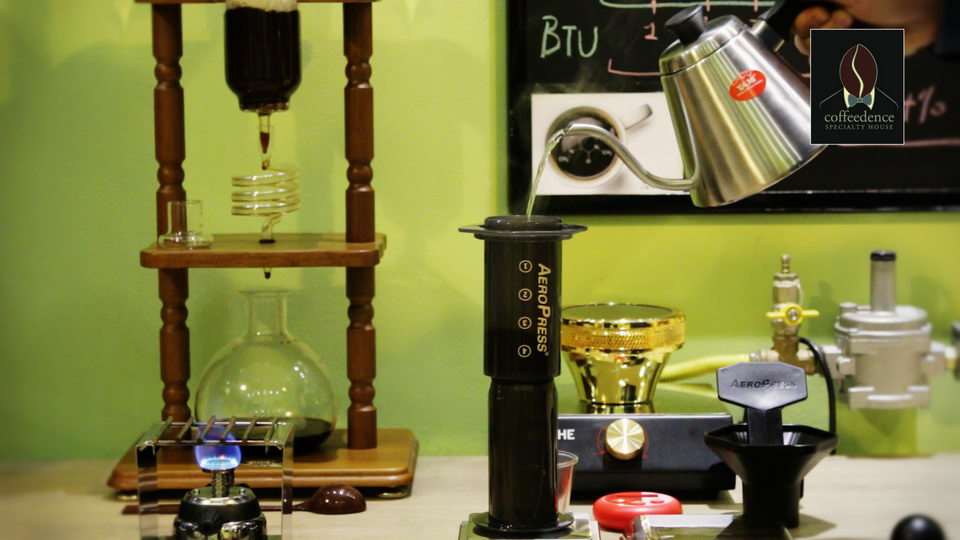
Advantage
The Aeropress is compact, easy, versatile, and virtually unbreakable
We really enjoy using the Aeropress with complex coffees. For these, we make use of the pressure applied by the Aeropress to highlight the most subtle characteristics. This method also brings the best out of bright coffees; the short brew time accentuates these characteristics. Try the Aeropress with coffees from Kenya Kirimara, Ethiopia Lekempti & Kochere, Panama Geisha, El Salvador, Sumatra Blue Batak.
Technique
We’ll provide you with a couple of different methods.
1st method is the inverted method. For this recipe,turn the Aeropress upside down and insert the plunger just enough to seal the bottom. Be very careful. This is a tricky maneuver to master, and the possibility of spilling near-boiling water is high. Dump medium-ground coffee into the chamber and add hot water until the desired volume is reached. Steep for 1:45-2:00, stirring once or twice. Screw the filter on and press just until a blond crema-like head appears on top. Carefully invert the entire apparatus and place onto your mug or server, pressing down slowly for about 30 seconds.
STEP ONE Bring to a boil enough water for both the AeroPress and your brew vessel. 400 grams.

STEP TWO Insert a paper filter into the AeroPress’s detachable plastic cap

STEP THREE Weigh out 15 grams of coffee. Grind your coffee. AeroPress calls for a fine grind – just a bit more so than drip coffee.

STEP FOUR Assemble your AeroPress. Place it on your scale with the flared end up, then tare the weight. The numbers should appear upside-down. It’s possible to attach the black filter cap and place it right side-up, but this tends to cause leakage and make accurate brewing slightly more difficult.

TIP : Make sure the entire assembly is dry, since any residual moisture can compromise the device’s seal !
STEP FIVE Add your ground coffee. Set your timer for 1 minute

STEP SIX Next, start timer and pour hot water about (30 seconds off the boil or about 93-96 degrees Celcius) into your brewer, saturating the grounds, and pouring to the top of the 3 level

STEP SEVEN Use the AeroPress paddle to give a thorough stir. The goal here is not to stir them so much as it is to guarantee even saturation. Let this sit for 30 seconds.

STEP EIGHT Add another 160 grams of water and let sit for one minute

STEP NINE Use the remainder of your water (it should be about 200 grams) to wet your filter and cap. The water will serve a dual function here: It will both help the filter adhere to the cap, and it will heat your brewing vessel

STEP TEN After a minute has elapsed, give your grounds 10 vigorous stirs.
STEP ELEVEN Screw the cap onto the AeroPress. Then flip the whole assembly over with haste and control and purpose. All three. Position it atop your brew vessel and begin applying downward pressure. You ought to experience about 30 pounds of resistance here. If the pushing feels too easy, your grind is likely too coarse; if it’s very hard to push, chances are the grind is a bit too fine. Your coffee’s fully brewed once it begins to make a hissing sound. This means there’s no more water to push through the device.


STEP TWELVE Now here’s the really satisfying part, for two reasons. Once you’ve unscrewed the cap, you can pop out the filter and the puck of condensed grounds by simply pushing the AeroPress’s interior section a final inch. Then, of course, you can pour your coffee and enjoy. And please do enjoy.


2nd method that’s geared toward espresso-lovers. Although some claim that the Aeropress makes espresso, this not an accurate description of what happens when brewing with this device. But we’ve found that you can produce a cup with the Aeropress that carries some attributes of espresso and — whatever you want to call it — we think that it makes a delicious cup of coffee. Use the traditional upright position and a fine-medium grind setting. Place the Aeropress atop a server or mug with the filter in place. Add coffee and pour hot water to target volume. Stir thoroughly and, after 30-45 seconds, begin to press in a steady and controlled motion. You should have a cup with a syrupy body and intense flavors.
In this occasion Carefully flip the brewer upright and dilute the brew to taste with hot water – we recommend starting with 50/50 ratio and adjusting for preference.
